
Crimson Moon builds: Bleed, Marked and co-op combinations
Crimson Moon uses no traditional character classes. A practical build is a combination of equipment, Weapon Arts, temporary Boons, and an Angel choice. Start with the action you want to repeat, then select tools that support it.
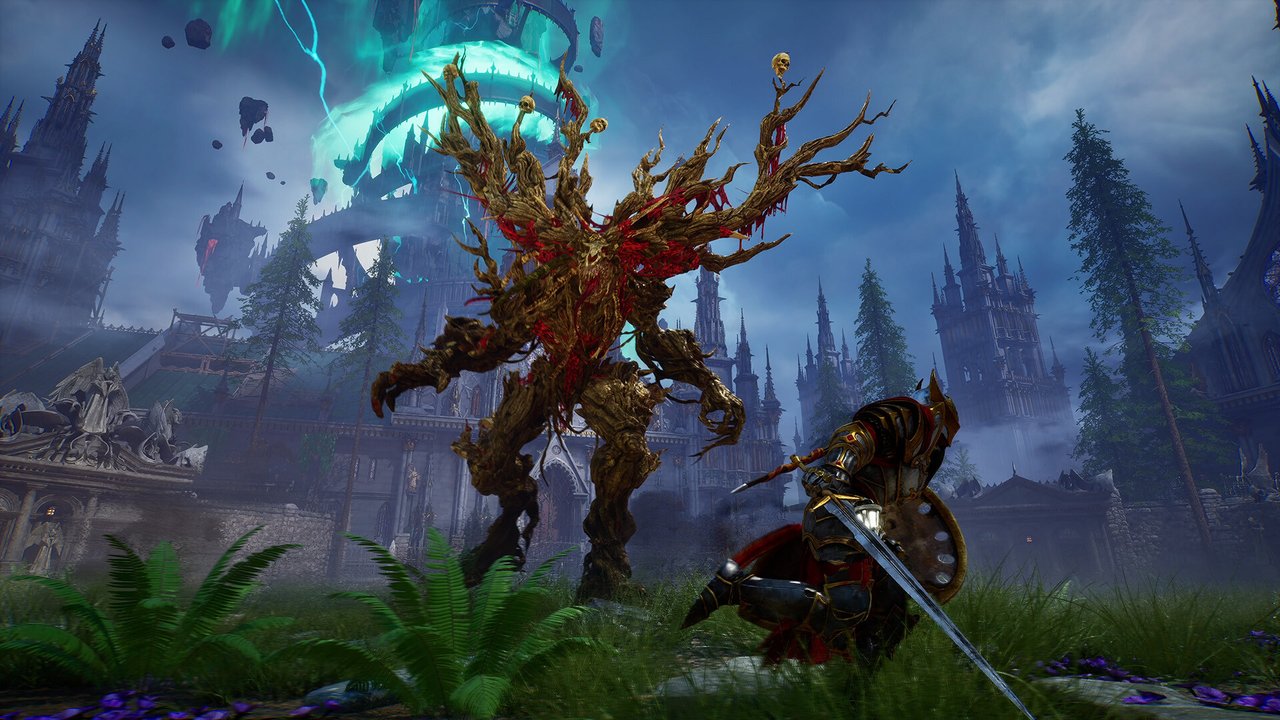
The nine equipment pieces that define a build
The official build explanation lists the following equipment slots. The documented setup uses a one-handed weapon with a shield plus a separate two-handed slot.
| Slot group | Count | How to use it |
|---|---|---|
| Armor | Four pieces | Use the pieces and set relationships your current collection supports. |
| Trinkets | Two | Use them to cover a weakness or reinforce the loop you actually perform. |
| One-handed weapon + shield | One weapon and one shield | Keep this as a defensive or adaptable option when a two-handed commitment is unsafe. |
| Two-handed weapon | One | Use it for a separate range, timing, or impact profile rather than assuming a second one-handed weapon. |
Can you play a mage in Crimson Moon?
Yes, you can build around ranged and Arcane-style attacks, but there is no fixed mage class. Your role comes from the Angel, weapons, Weapon Arts, gear, and temporary Boons you combine for a run.
Sunder, unlocked at level 5, is the clearest starting Angel for this route because its documented identity focuses on ranged combat, mobility, and Arcane power. Pair it with projectile or elemental Weapon Arts, then use Boons that support the mana or status loop your actual gear enables. This creates a ranged caster-style play pattern; it does not add a separate spellbook, permanent mage class, or guaranteed best-in-slot setup.
Start by confirming one repeatable ranged Art and how it restores or consumes mana. Add status support only when your weapon can apply that status reliably, and keep a close-range option for enemies that collapse the distance. The official support guide describes loadouts as equipment, Weapon Arts, Boons, and an Angel choice rather than a class selection: core gameplay loop ↗ (external).
Three named combinations to assemble from available gear
These are source-based build cores, not tested best-in-slot sets. Use the named weapon or effect when it becomes available; fill the remaining armor and trinket slots from your collection. Temporary Boon offers are variable, so none is a guaranteed starting loadout.
Bleed into mana: Morning Star + Sanguimancer
Morning Star carries Bleed Projectiles. Apply Bleed, confirm the enemy is Bleeding, then land light attacks to activate Sanguimancer’s mana return. Spend that mana on your next Art when needed. The limitation is the status prerequisite: a resistant target or expired Bleed breaks the recovery loop. Do not count every buildup hit as a successful mana trigger.
Marked into Ascension: Hunter’s Strike + Graceful Strike
Hunter’s Strike gives light hits a 25% chance to Mark. Continue light attacks against a Marked target to gain Grace from Graceful Strike; use a weapon whose light sequence you can safely cancel. Divine Mandate is an alternative Mark source on entering or exiting Ascension. The tradeoff is setup time and conditional activation, so keep dodge stamina instead of chasing another hit solely for meter.
Co-op defensive zone: Sovereign’s Shield + Guardian Angel
The shield supplies Angelic Bulwark; Guardian Angel adds a resistance zone when entering Ascension. Agree where the partner can stand, place protection for a dangerous sequence, and consider Templar Revive if rescues are frequent. These are separate available tools: this guide does not claim their resistance values add together or make revives invulnerable. Mobile fights can move both players out of the useful area.
Weapon bindings and effects: Weapons ↗ (external) / Arts ↗ (external). Boon triggers: Boons ↗ (external). The attack sequences above are editorial deductions from those effects, without damage benchmarking.
Choose the missing part of the loop
For the Bleed setup, select application before mana recovery if you cannot already cause Bleeding. For the Marked setup, add a reliable Mark source before selecting a reward for hitting Marked enemies. In co-op, a revive-only bonus has little value when neither player is going down; a broader defensive choice may fit that run better.
Temporary Boons last for the current run, including its missions. Innate Boons belong to gear. Check stacking restrictions before taking duplicate conditional effects.
Put the shared-life rule into the loadout
Both players use a shared life pool. Before starting, identify which player has a defensive zone or rescue benefit and how the other will stay within reach. One partner can bring status application while the other chooses a complementary effect, but do not assume every effect applies to allies: read “you,” “target” and “allies” separately.
For the actual invite and join-code flow, use the co-op connection guide.
Five-point loadout check
- Choose one attack pattern you can execute consistently.
- Equip the four armor pieces, two trinkets, one-handed weapon + shield, and two-handed weapon slots.
- Pick Weapon Arts that answer range, status, crowd, or tough-target problems.
- Choose the Angel form that matches your distance and risk tolerance.
- Choose your starting configuration at the Loadout Station before the run. The station stays unavailable between missions until the run ends; gear found during the run can still be equipped and swapped.
These combinations depend on available equipment, Boon offers and successful triggers. They have not been benchmarked against a best-in-slot set; compare the effect text in your installed version before committing a run.
The equipment and co-op rules on this page were checked against the official Steam hub ↗ (external), official core-loop guide ↗ (external), and official co-op guide ↗ (external).