
Crimson Moon bosses: Vessels, Dead Gods and progression
Find the six documented Vessels, three Dead God entries, associated equipment leads and the Abraxas Stone progression route. Released patch notes explain several encounter bugs. Detailed attack patterns and phase-by-phase strategies still need stronger evidence.
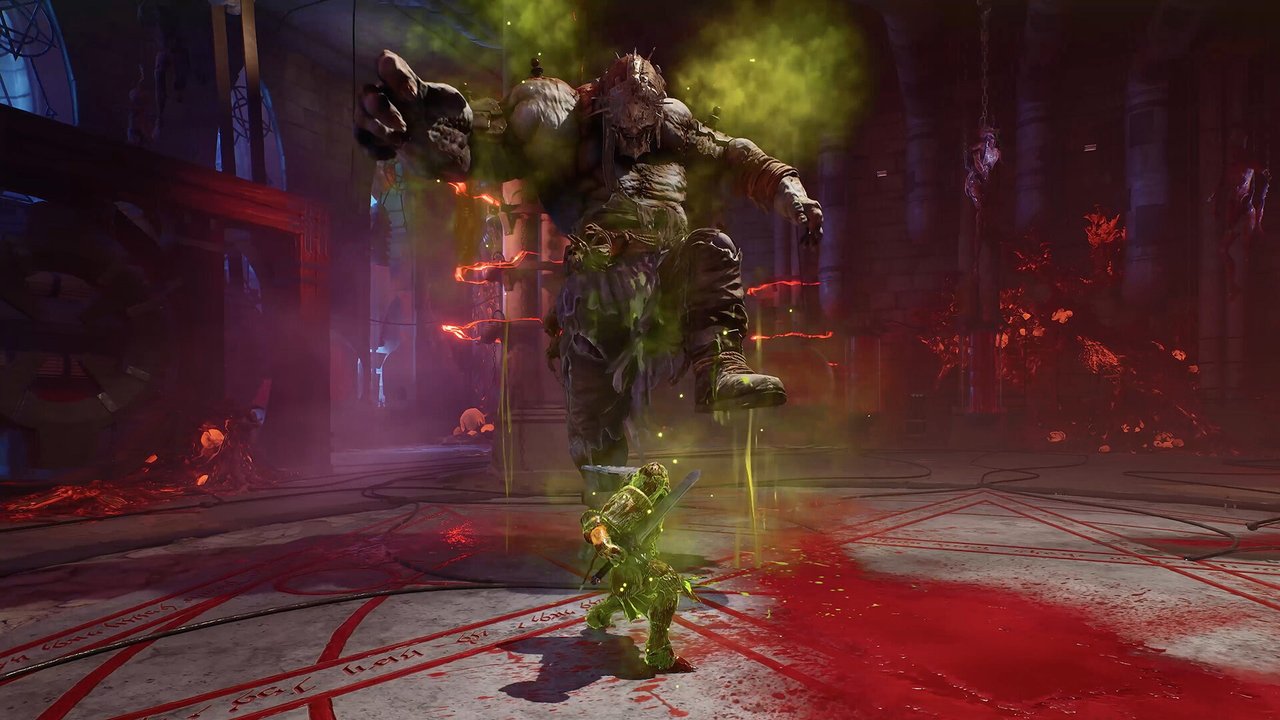
Three missions lead to a World Boss
A normal run goes Mission 1 → Mission 2 → Mission 3 → World Boss. Returning to Sanctus Clypeus between missions keeps the same run active. The starting Loadout Station is locked, but found gear can still be equipped. See the official runs and gear explanation ↗ (external; new tab).
The current progression reference ↗ (external; new tab) says the second Abraxas Stone makes the Final Boss available. When that stone comes from Mahkteah, the current run can continue to the Final Boss; defeating the Final Boss awards the third stone. Even with all three stones, a later run still has a World Boss after mission three. These are progression rules, not a fixed rotation of district bosses.
Vessels: identify the encounter and its equipment lead
The current enemy reference lists these six Vessels. The equipment column combines it with the Weapons reference; it identifies a listed unlock source, not a guaranteed drop or farm rate.
| Vessel | Listed equipment lead | Relevant released fix / limit |
|---|---|---|
| The Warden | Blasphemous Accord · Poison Caltrops | No verified phase-by-phase strategy in the sources checked. |
| Cardinal Mathias | Defiled Night · Cardinal’s Staff | No verified phase-by-phase strategy in the sources checked. |
| Tyrigon, Spawn of the Black Aeon | Dragon Assassin Broadsword · Fire Burst | 1.0.1 improved large-boss lock-on and removed a duplicate starting health bar. |
| General Valahk-Nor | Gildenarch’s Glory · Valak Slam | No verified phase-by-phase strategy in the sources checked. |
| The Flesh-Wrought Egregore | Akyreon’s Tongue · Egregore Explosion | 1.0.1 fixed a crash that could occur in this encounter. |
| Felwyl the Withered | Scirax · Gouging Throw | 1.0.1 fixed the death sequence being skipped when killed during the lightning attack. |
Sources: enemy categories ↗ (external; new tab), weapon unlock entries ↗ (external; new tab), September 11: Hotfix 1.0.1 ↗ (external; new tab). These bug fixes do not prove that every encounter issue is gone.
Dead Gods: E’frae is the Dry Rot King
E’frae, The Dry Rot King is one boss name with a title, not two separate Dead Gods. The current reference lists three entries:
| Dead God | Useful distinction |
|---|---|
| E’frae, The Dry Rot King | The Weapons reference associates Rotkin’s Thorn with this encounter. The 1.0.1 camera note specifically names the Dry Rot King’s God form. |
| Mahkteah, The Lord of Perdition | The reference associates Burning Heart with Mahkteah. The second-stone progression rule above explains when this World Boss leads onward. |
| Aegoroth, The Eye of the Abyss | Listed as a Dead God. The enemy overview alone does not establish a move list, resistance table or guaranteed reward. |
What you can safely build around
Dodge and parry
The official Stamina guide says dodge is the answer to red-aura attacks and successful parries help fill the Angelic meter. Practice the tell before chasing damage.
Heavy attacks and Arts
Heavy attacks can be charged, sprinting creates a lunge, and Weapon Arts cost mana. Choose the attack form that keeps you alive through the whole sequence.
Executions
A near-lethal stagger on an elite can open an uninterruptible execution and fill up to half a meter stage. The source does not claim that every boss shares this threshold.
Co-op safety
Co-op uses shared lives and partner resurrection. Read the co-op guide before treating a boss attempt as a damage race.
Patch-specific encounter checks and remaining guide limits
The official 1.0.2 release notes ↗ (external; new tab) address Egregore weak-point camera targeting and invisibility, Felwyl status application, and a Demon Brute parry-reaction problem. If one of those symptoms recurs, include the encounter name, platform, installed version and exact attack or transition in the report.
Bosses now have a red invulnerability effect during phase transitions. Do not spend an important attack solely to test damage while that transition indicator is active. This visual state is separate from the red-aura attack warning discussed above.
Encounter-specific timings, safe punish windows, resistance values and the full Aegoroth fight route still need stronger evidence. The identity and equipment lists above remain reference material; neither a patch note nor a listed unlock lead proves a complete boss strategy.
Further reference: Official stamina guide ↗ (external; new tab) · Official Ascension and execution guide ↗ (external; new tab).