
Crimson Moon angels: Angel Ascension and form choices
In Crimson Moon, “angels” points to the Angel Ascension transformation system and its current form references. The official support guide explains the meter, parries, executions, cleansing effect, and ability replacement; the developer-linked Wiki supplies the Aegis and Sunder names used for form-specific reference.
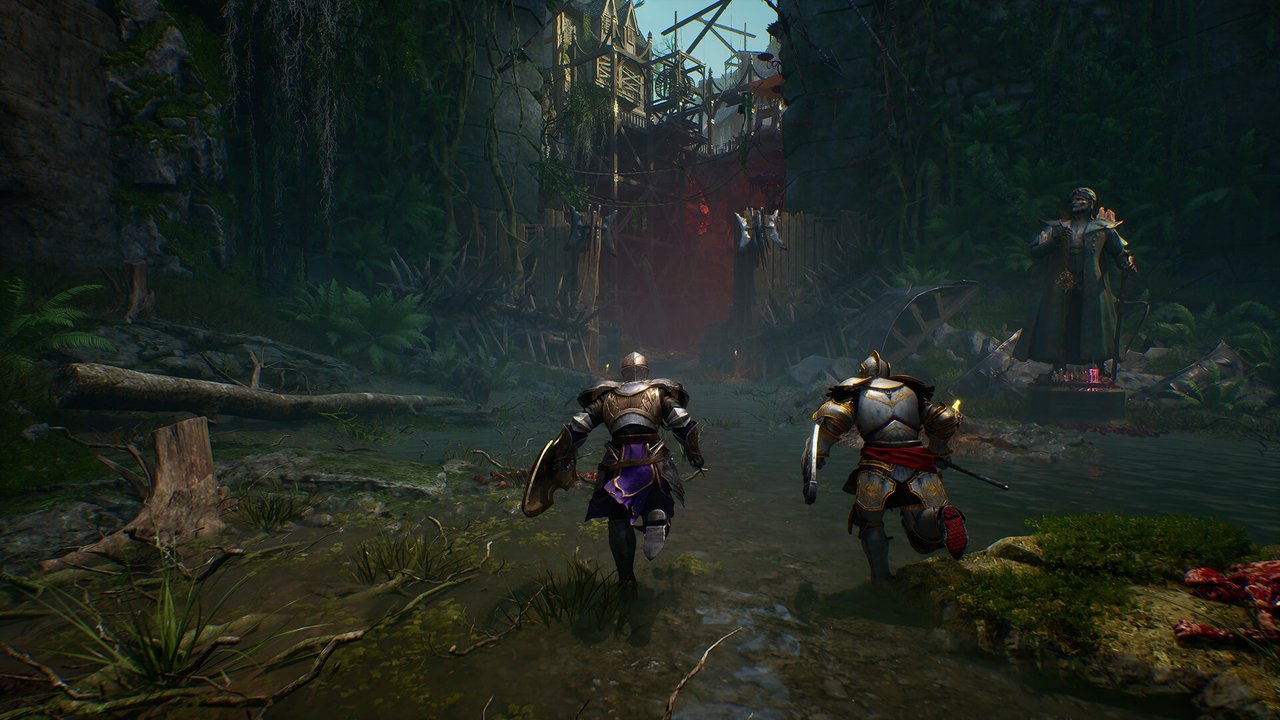
Fill the three-stage meter
The official support article describes a three-stage Angelic meter. A fuller meter gives the transformation more time, but the official material does not publish a universal seconds-per-stage formula.
| Action | Documented result | Practical use |
|---|---|---|
| Reach the required stage | Angel Ascension becomes available after one stage of the meter. | Do not wait for a fictional fixed cooldown; watch the meter. |
| Parry | A successful parry fills a small amount of the meter. | Use precise defense to build power while staying engaged. |
| Elite execution | An elite near-lethal stagger can be executed; the execution is uninterruptible and can fill up to half a stage. | Look for the execution prompt instead of trading damage. |
| Activate the form | Angel Ascension grants heightened power and defense, cleanses negative effects, and changes Weapon Arts to Guardian Angel abilities. | Activate before a dangerous room, elite, or boss pressure sequence. |
Executions are part of the power cycle
Parry with a purpose
The Stamina guide confirms that successful parries contribute to the Angelic meter. A failed parry costs stamina and leaves you open, so meter generation is not a reason to parry attacks you cannot read.
Read official stamina rulesExecute elites when safe
An elite execution is both a damage event and a meter event. The official rule supports the meter gain, but does not give a universal damage multiplier or boss stagger threshold, so this page does not invent one.
Read official Ascension rules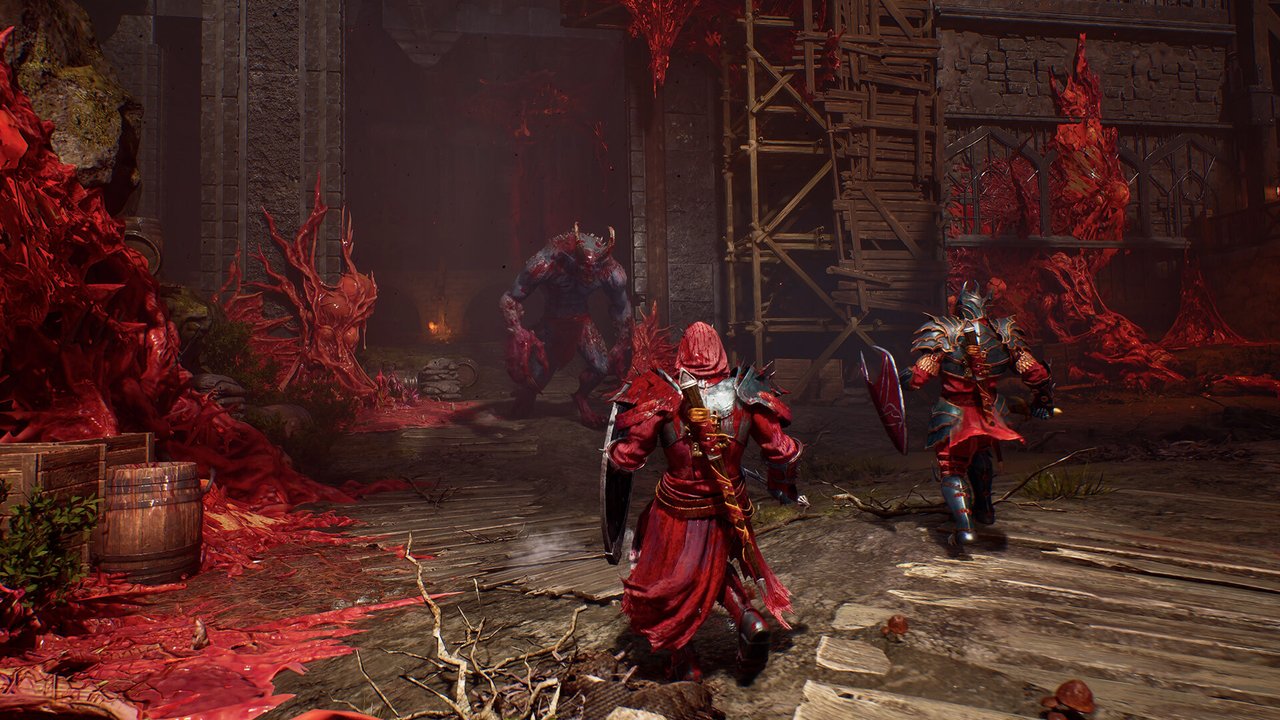
Crimson Moon angels: Aegis and Sunder are different build directions
The developer-linked Wiki currently labels the form choices as follows. Treat the role descriptions as a guide to testing, not as a promise of fixed damage numbers.
| Form | Current reference description | Try it when |
|---|---|---|
| Aegis | Listed as the Sigil of the Warrior, focused on melee force. | You want close-range pressure and a direct frontline plan. |
| Sunder | Listed as an Arcane-oriented, ranged, high-mobility form. | You want distance, spell-like pressure, and mobility. |
Angel Ascension describes the transformation system and activation rules. Aegis and Sunder are the form names used by the current developer-linked reference; their exact balance and duration can change.
Do not trust fixed duration or unlock numbers without a version source
The official support page explains how the meter behaves, while the current community Wiki lists Sunder at level 5. The cited sources do not establish fixed transformation durations, resistance bonuses or a kill-refund rule.
Current unlock reference
The current Wiki’s Level Unlocks page lists Sunder at level 5. Because this is community-maintained and patch-sensitive, check the in-game unlock screen if your version differs.
Check current unlock tableBuild around the form
Pair the form with equipment, Weapon Arts, and Boons that match the distance and risk you can control. Start with the build planning guide and use Weapon Arts that you can actually find.